
YouTube became my best friend and prevented me from throwing tools across the room while prepping Linda’s Vespa for Nova Scotia.
I wanted to install a couple of outlets on the dashboard so she could plug in her heated Gerbings jacket. As we’ve talked about elsewhere here, having heated clothing can make the difference between misery and comfort on a ride.
Ignorant of Italian design, I thought it would be a simple job. “Two wires, how long could it take?” I figured 20, 30 minutes, tops. A simple job, right?
Oh my God, what a frickin’ nightmare.
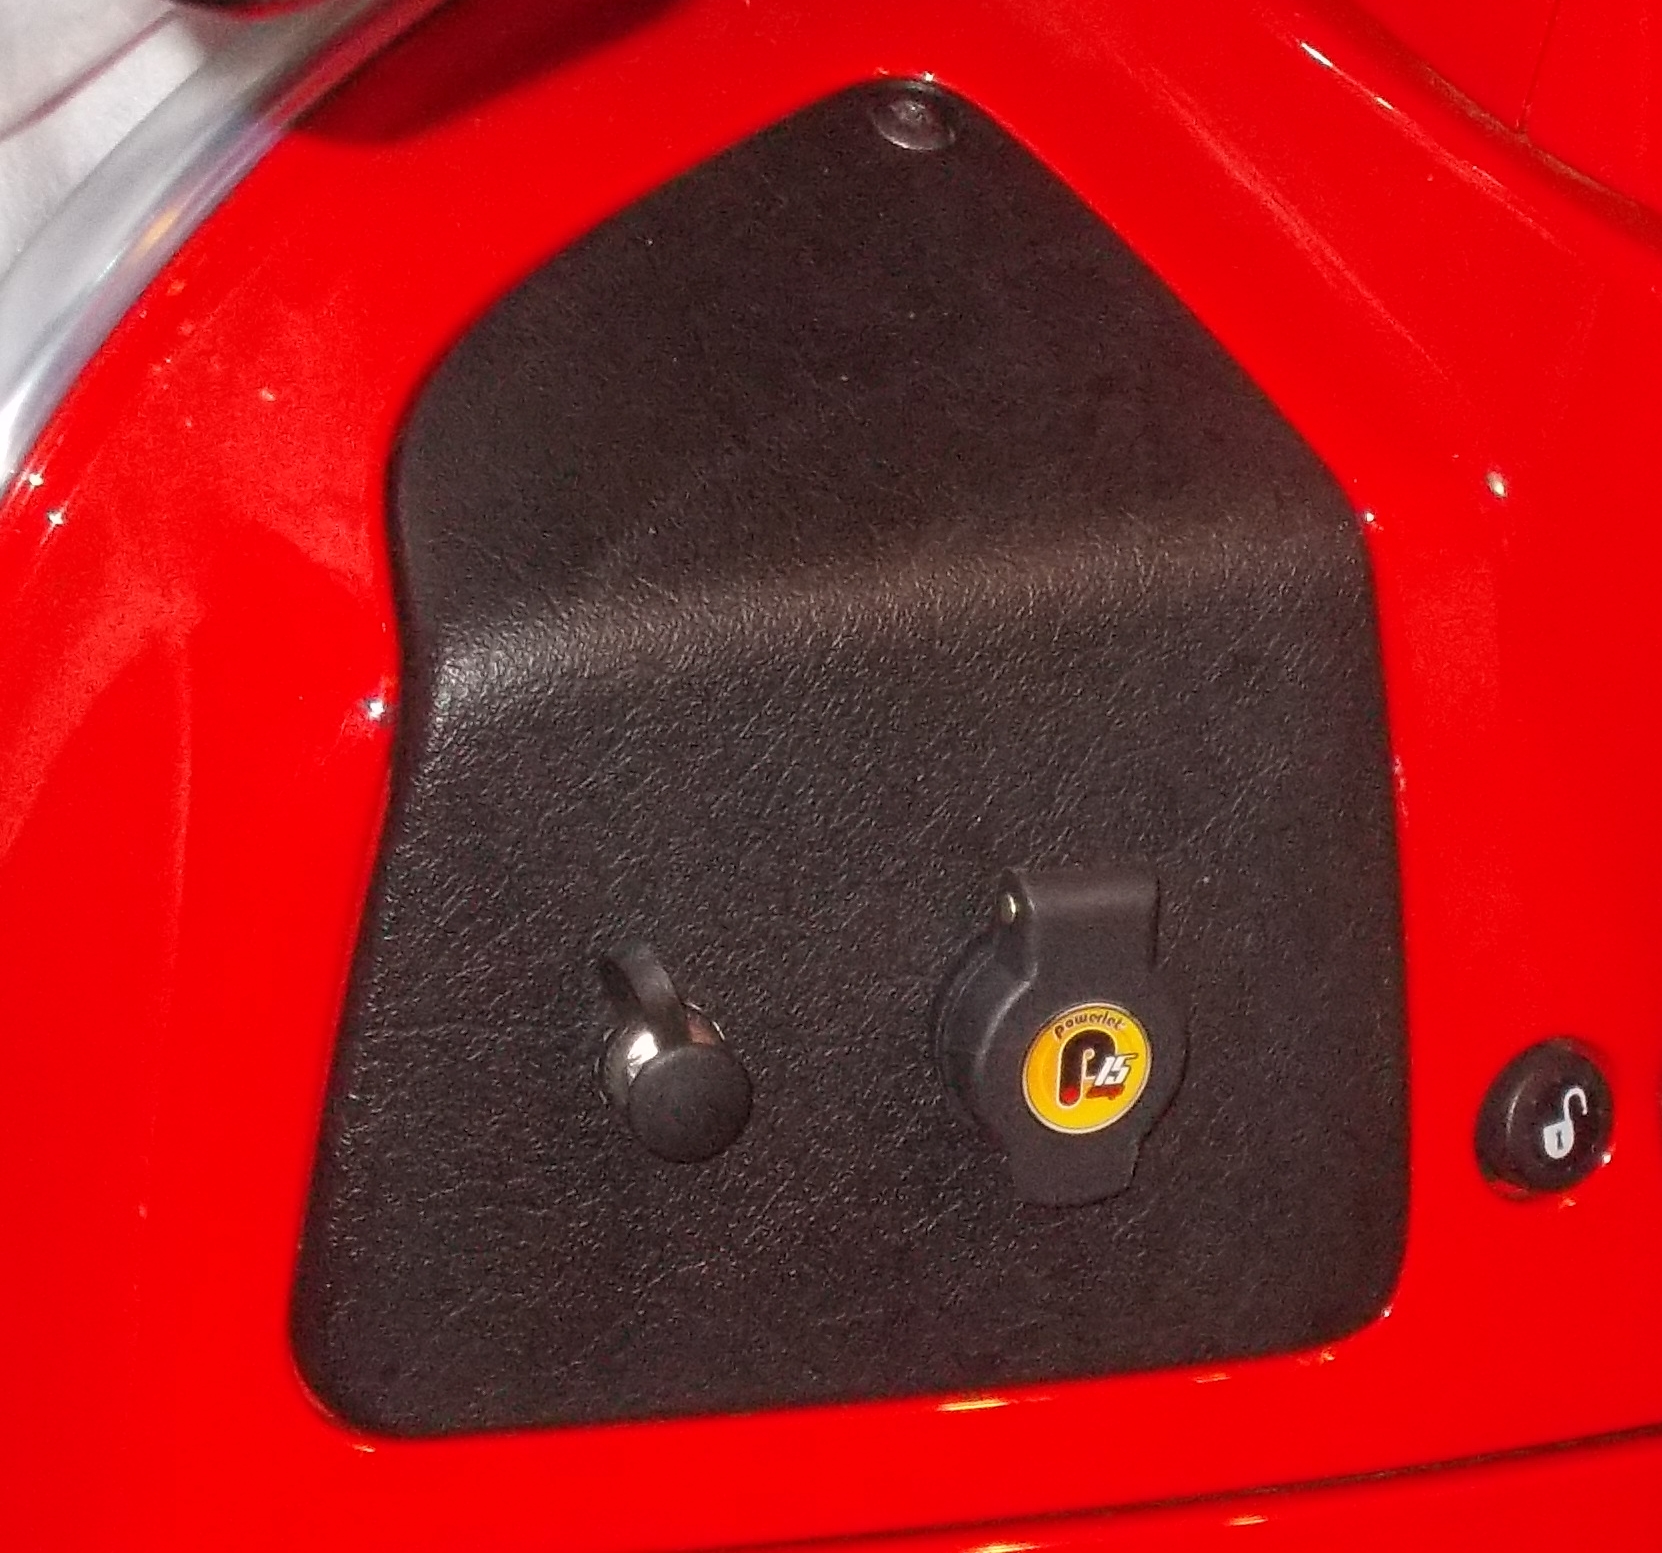
I had two outlets, a powerlet (like a cigarette lighter, only smaller in diameter) and a Gerbings coax power plug, much smaller and designed to work with Gerbing gear.
But where to put them? Vespa has two plastic “kneepads” on the dash. The right one conceals the fluid reservoir for the cooling system. The left one opens into the front of the frame and has space for extra wires — the obvious choice.
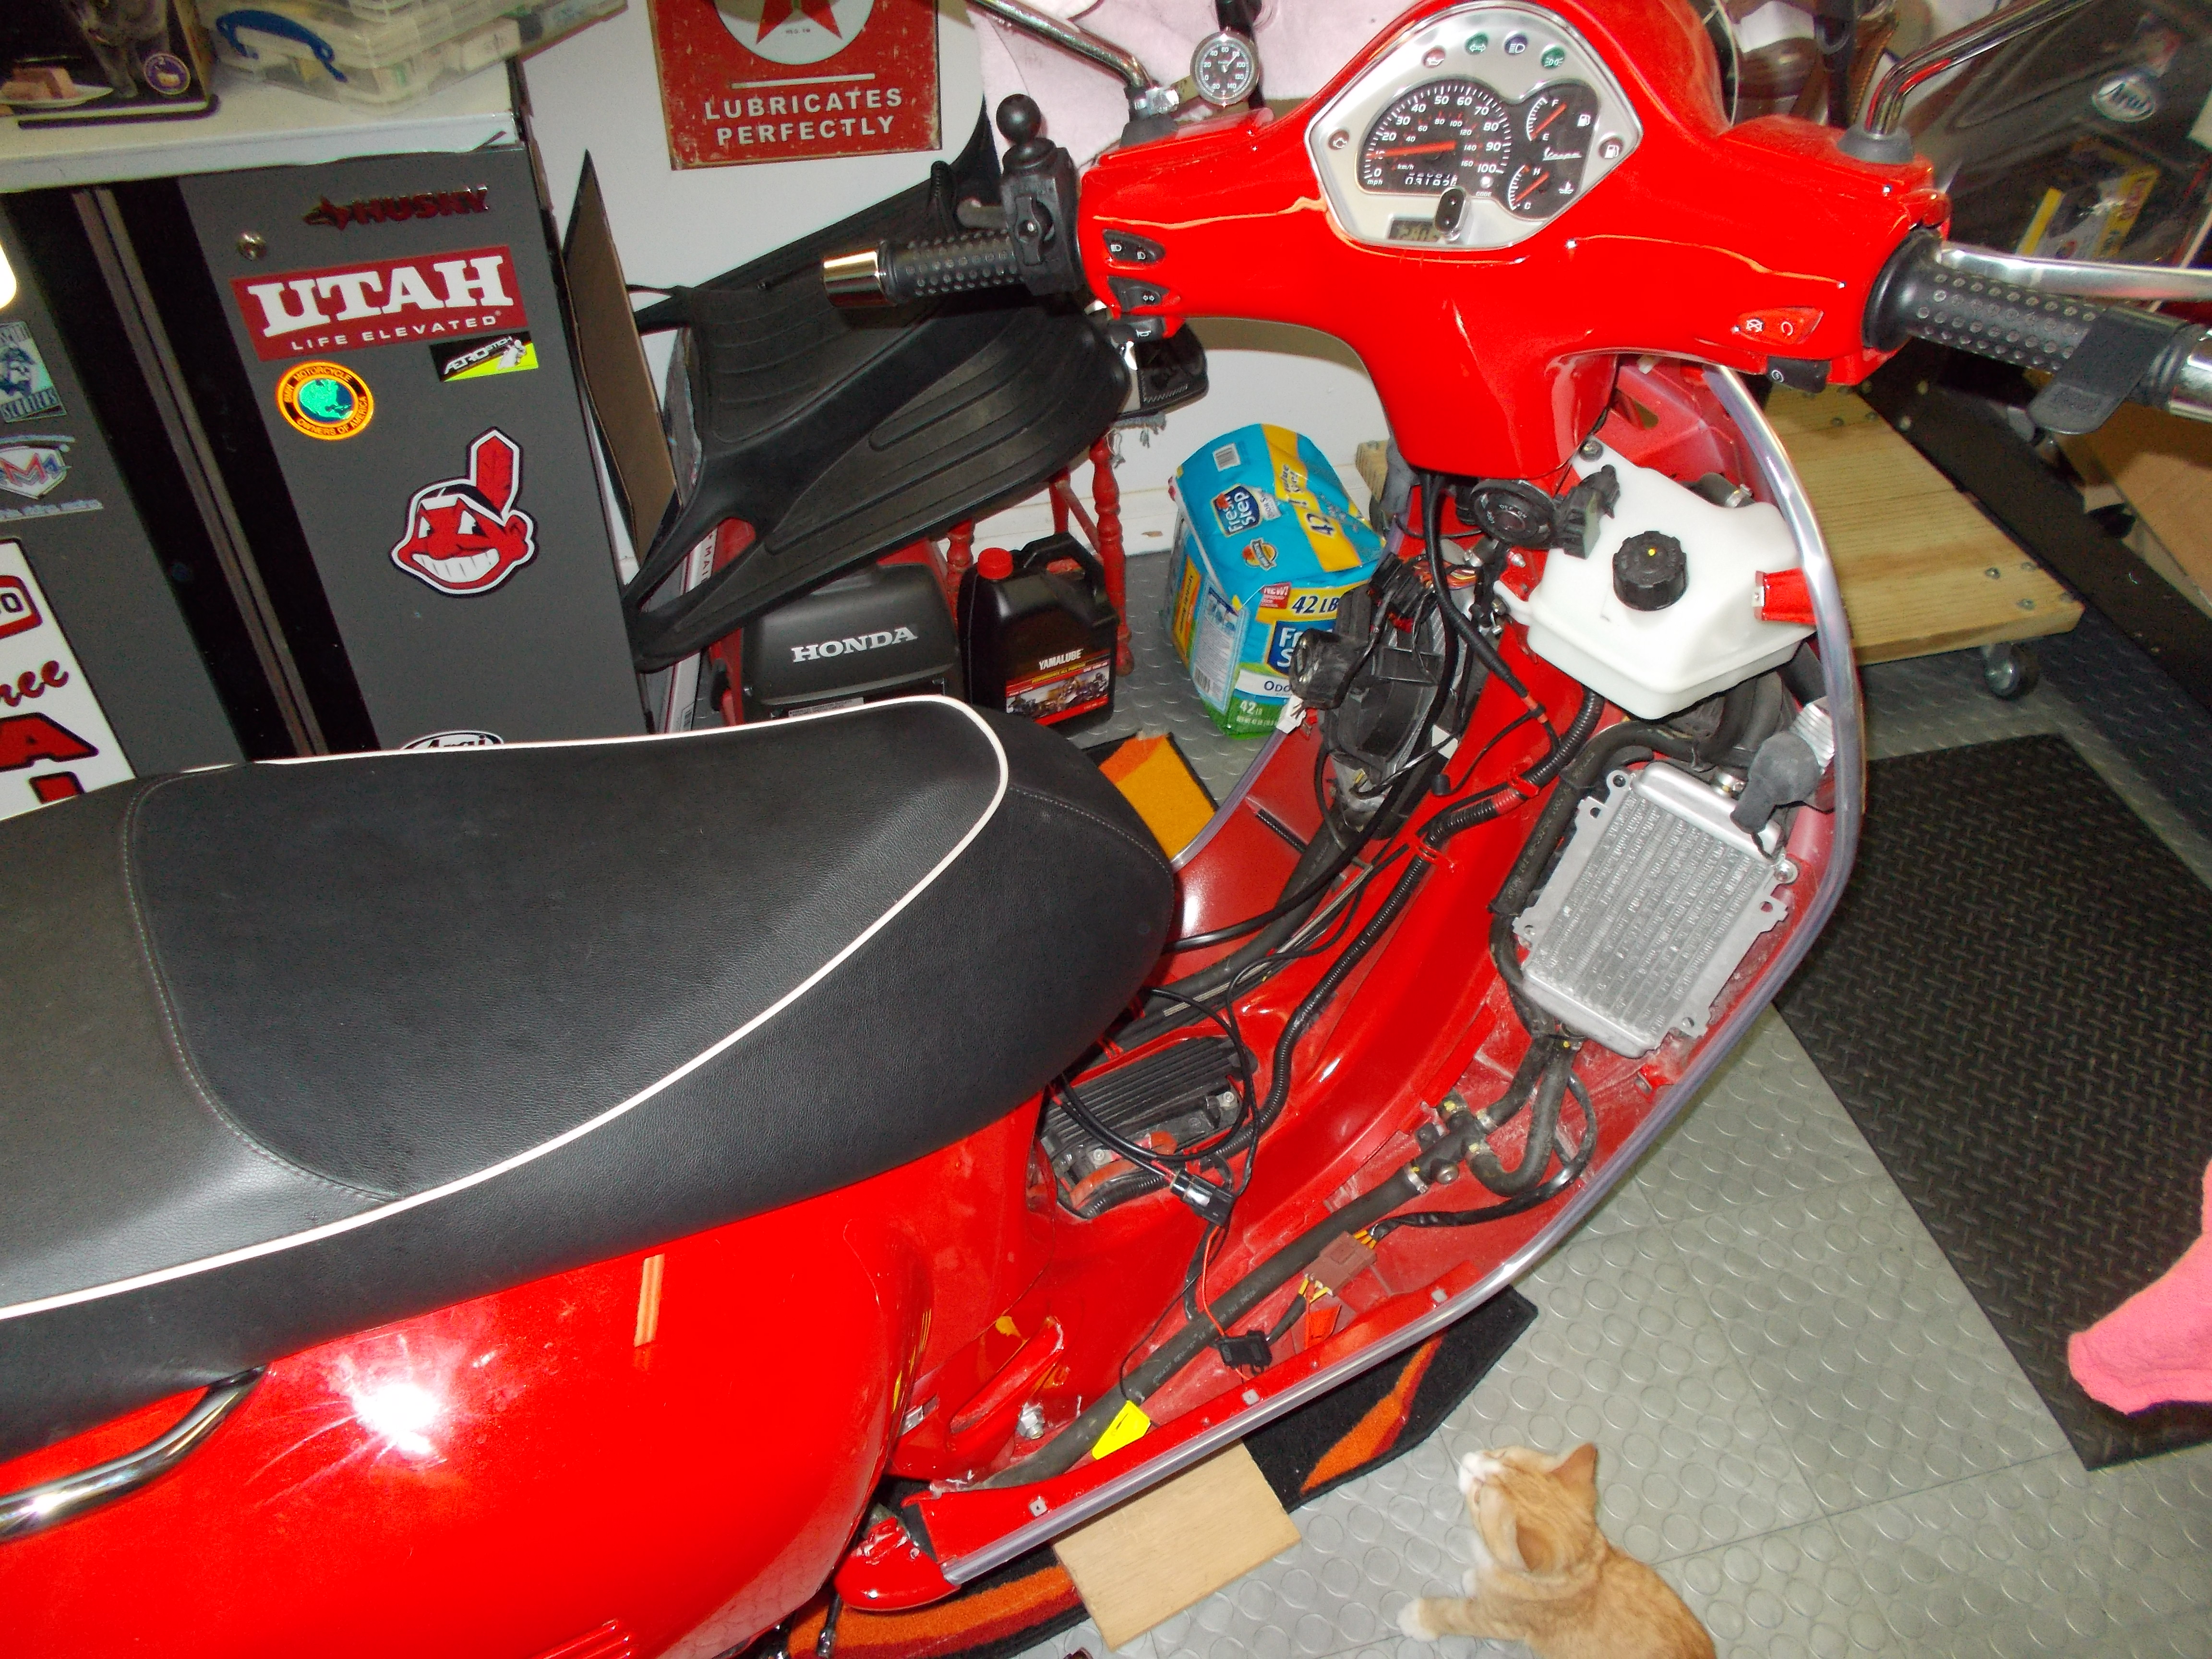
I wanted to hardwire each plug directly to the battery, which is located below the metal floorboard. I started by removing the big rubber mat.
That’s when things got interesting. I took off panel after panel – battery cover, kick panel, front grille – and discovered a perfect bottleneck for wires in that little hump between the rider’s feet.
Existing wires to the headlights and horn and whatnot were packed into this tiny passageway and there was no way to thread extra wires through. I had to pull everything, including the front panel, glovebox hatch, ignition switch, fusebox, passenger footrests, and rear mudguards. Everything was connected; you had to take out one piece to get access to another. Not to mention the chrome and rubber trim over it all.
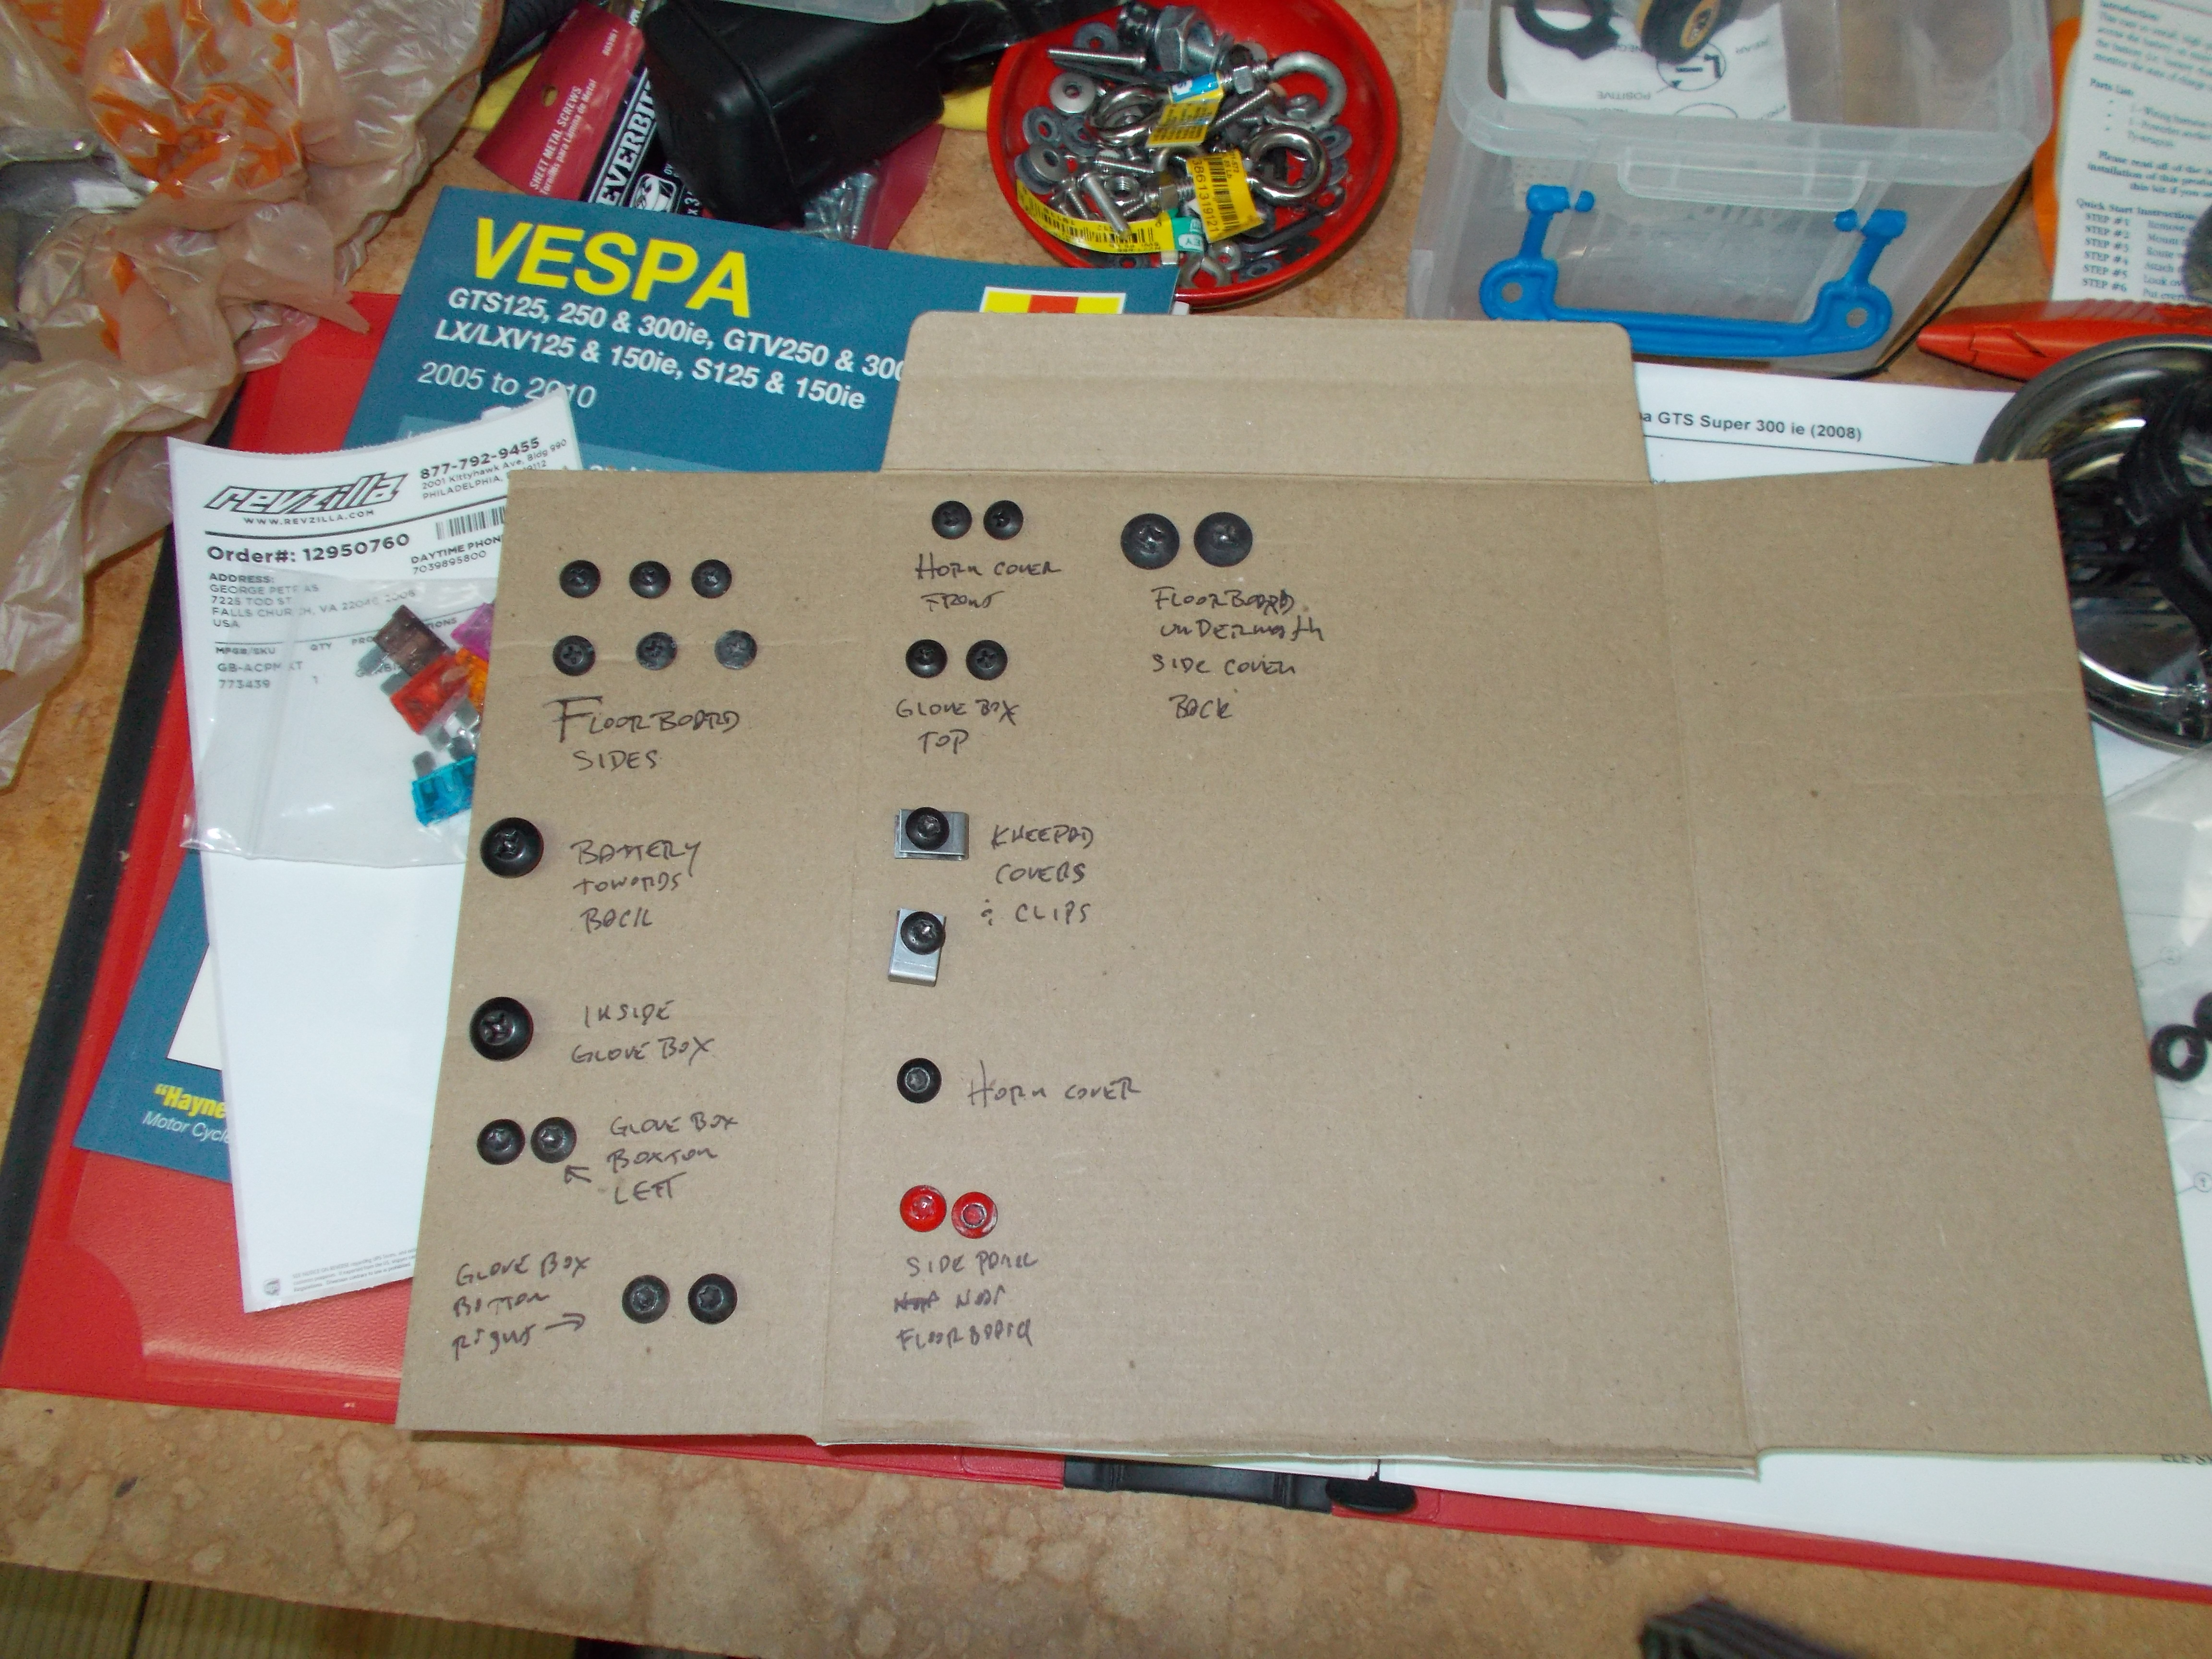
And the fasteners! The screws and bolts were starting to pile up and I was afraid I’d overlook or lose something and mess up the reassembly. So I got some cardboard, punched holes in it and put in the screws, labeling them as I went along.
I found myself consulting a couple of YouTube videos, one from Scooter West that showed you just about everything, and another from some German fellow who was doing the same thing I was. Those visual demonstrations really helped, especially after I watched each one about 400 times.
This sort of complexity isn’t just Vespa; every vehicle has its quirks. I remember having to remove a footpeg and shifting levers from Discovery, my 1994 Yamaha 750 Virago, just to get to the oil filter.
It’s ridiculous, but there you are. And the first time you do any work of this sort is the hardest. Each time afterwards becomes easier and you don’t waste time by wondering why in hell the bike is engineered this way.
I ended up trying to do it as my father would, taking my time and devoting the better part of a weekend to install those two wires. (It wouldn’t have taken him that long.) Reassembly went pretty smoothly and both plugs worked after everything was bolted back together.
As it turned out, Linda never needed to use her heated jacket during the Nova Scotia ride. But she could have, if needed.

It looks like a professional installation, George.
George,
Thanks for passing on the books!! The Old Patagonian Express singlehandedly inspired a train adventure myself – not quite as ambitious as Theroux, but I traveled from Washington to Chicago and then down to New Orleans. Hope all is well, it is finally warming up enough to ride.
Eric